Receive order (Site)
Site users can use the View Shipments page to add or view notes about shipments, and start receiving items from a shipment.
|
Note: Based on how Destiny is set up at your district, you can also select either Notifications |
Receive items from a shipment
-
Select Catalog > Resource Orders > Track sub-tab.
- Next to the shipment you want, do either of the following:
- Click
 .
. - Click
 , and then click Shipments.
The View Shipments page appears.
- Click
- In the shipment row, click Show More.
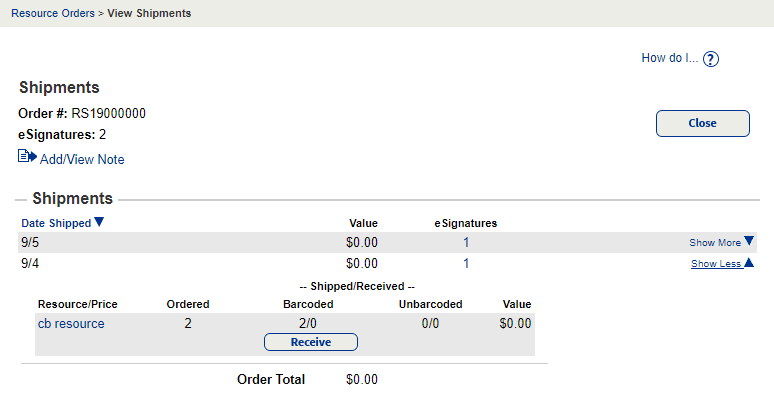
- Under Shipped/Received, click Receive. A new page appears.
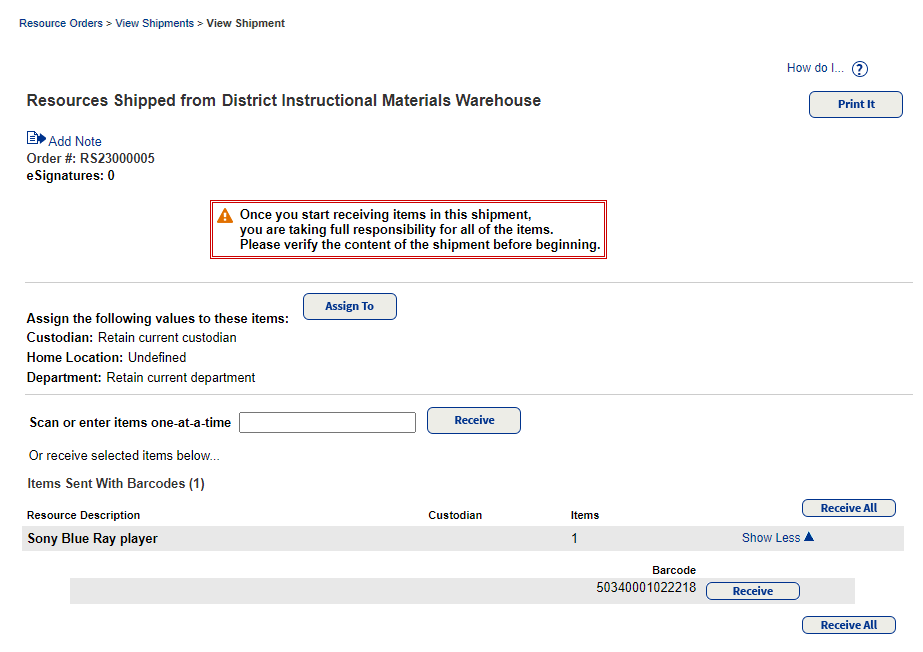
- To assign a Custodian, Home Location, or Department to the items you receive, click Assign To. The Assign Values page appears.
- Find the items you want to receive, and then click Receive.
- For barcoded items, the View Shipment page appears.
- For unbarcoded items, the Receive Items page appears.
Note: If the shipment includes Track handling eSignatures for this transfer, but no eSignatures were provided during shipping, then the Site Administrator receives an email. The email indicates no eSignatures were entered before the resource order was completed.
| Note: Click the Archive sub-tab to view completed orders. |