Update Welcome page image
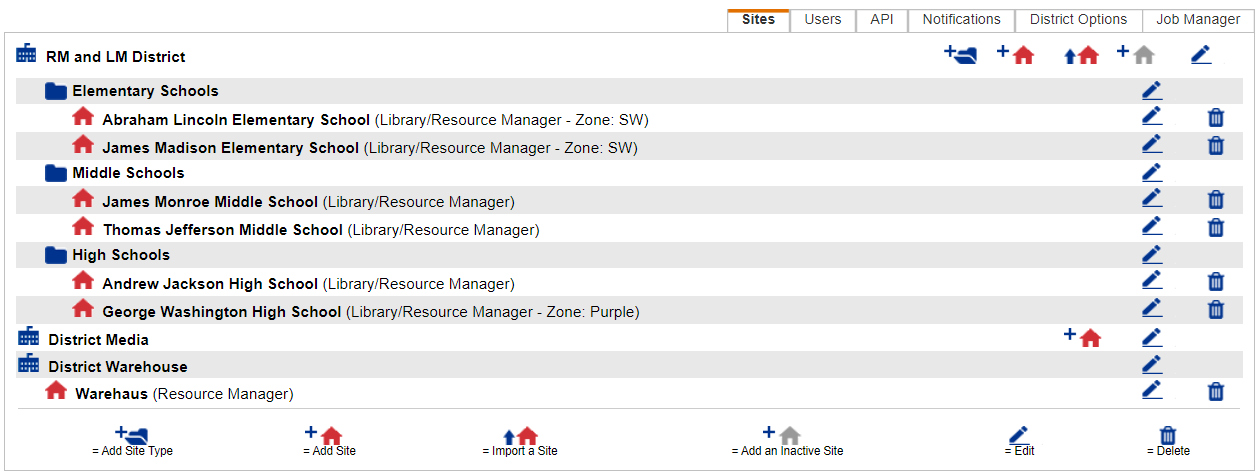
- Log in as a Destiny Administrator.
- Select Setup > Sites sub-tab.
- Next to your district name, click
 .
.
- Scroll to the Image for Standard Welcome Page section.
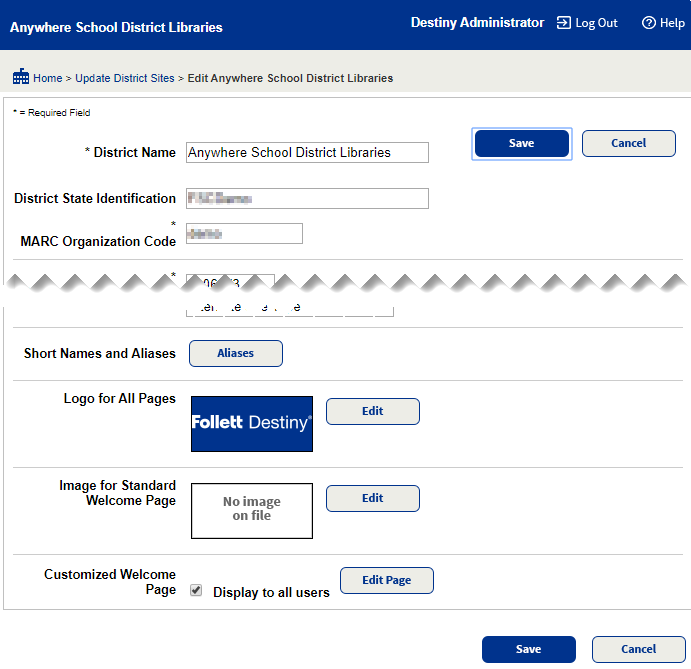
- Click Edit. A new page lets you select the image for a standard Welcome page.
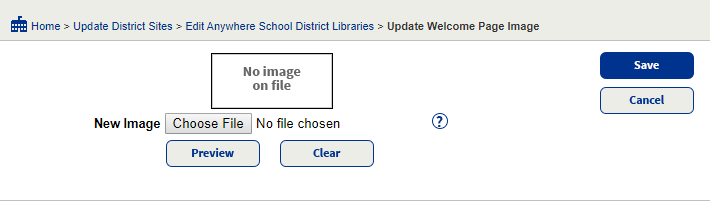
- To locate and select your file, use the New Image field.
The New Image field lets you select an image for a standard Welcome page. Click Browse (or Choose File, depending on your browser) to find and select a file to act as the standard Welcome page image.
Note: You can either have a standard Welcome page or a customized Welcome page. You cannot use this field to add images to a customized district Welcome page.
- To see the image, click Preview.
- Click Save. After the image is saved, refresh your browser to see the changes on the Welcome page.