Add items to a category
You can add items to an Item Category from a Resource List, barcode list, or by a range of dates.
- Select Catalog > Resource Search > Item Categories sub-tab.
- Do one of the following:
Next to a category, click the Add to Item Category (
 ) icon.
Next to a category, click View. At the top of the Search Results page, click +to this Category.
- Do one of the following:
If you want to... Then... Add items from a Resource List - From the Select by drop-down, select List.
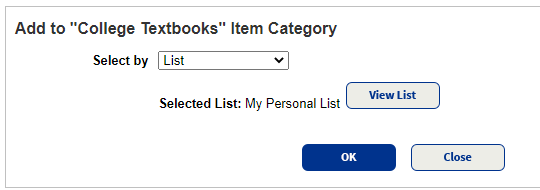
- From the next drop-down, select the list you want to use. If you want to see the contents of the list, click View List.
Note: If the Resource List is shared with other sites in your district, only the items in your collection are assigned to the category.
Add items from a barcode list (browse to an existing one, or create one)
- From the Select by drop-down, select Barcode List.
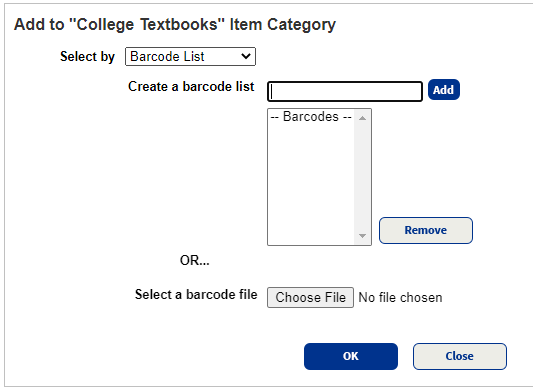
- Add a list of barcodes:
- To add an existing file, click Choose File, and then browse to the file you want to add.
- To create a list, type or scan barcodes in the Create a barcode list field. If you type the barcode, click Add after each entry.
Add items added to Destiny on a specific date or before/after a date - From the Select by drop-down, select Date Items Added.
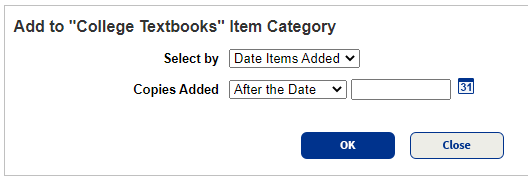
- From the Copies Added drop-down, select After the Date, On the Date, or Before the Date, and then select or enter a date.
- From the Select by drop-down, select List.
- To assign the selected items to this category, click OK.
- When you're done assigning items, click Close.