Set up resource policies – Patron Types
Loan policies let your school districts have different circulation policies for patrons. In Patron Types, you can define the various types of people who check out resources. For example, you might have audiovisual or athletic equipment that you only check out to faculty and staff. Keep in mind, the best way to manage Patron Types is to have as few as possible.
Destiny is installed with two patron types: Faculty and Student (the latter is the default). When you import patrons, unless otherwise specified, the default patron type is assigned.
But you can set up customized patron types to meet your district's needs, and select one of those when adding or importing a patron record. If an unknown patron type is imported, it is added to Destiny.
A Destiny Administrator can define patron types for the district that can be managed at the site level. Patron types can be set up for a single site, a site type, or the entire district.
|
Notes:
|
To define patron types at the site level:
- Select Admin > Resource Policies > Patron Types sub-tab.
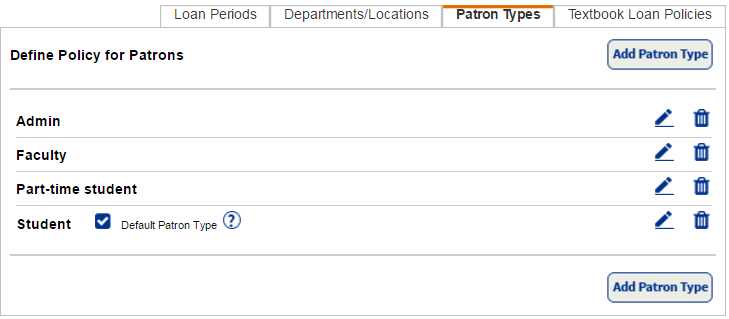
- Click Add Patron Type.
- In the Patron Type field, enter the name of the new patron type.
- To make this patron type the default when you import a patron record that does not have one, select the Make this the default checkbox.
- To group patrons together, select a type from the Persona drop-down.
Note: The Persona field must be configured to create meaningful 1:1 Resource Checkouts and 1:1 Resource Checkouts Percentages reports. The field is also needed for Digital Signature Agreements to work during check out and to run the Digital Signature reports. - Select the checkboxes for the resource types this patron type can check out.
- Select the appropriate loan period for each resource type you selected.
Note: When you select a loan period for a resource type, any resource types nested under that resource in the tree will inherit the loan period you selected.
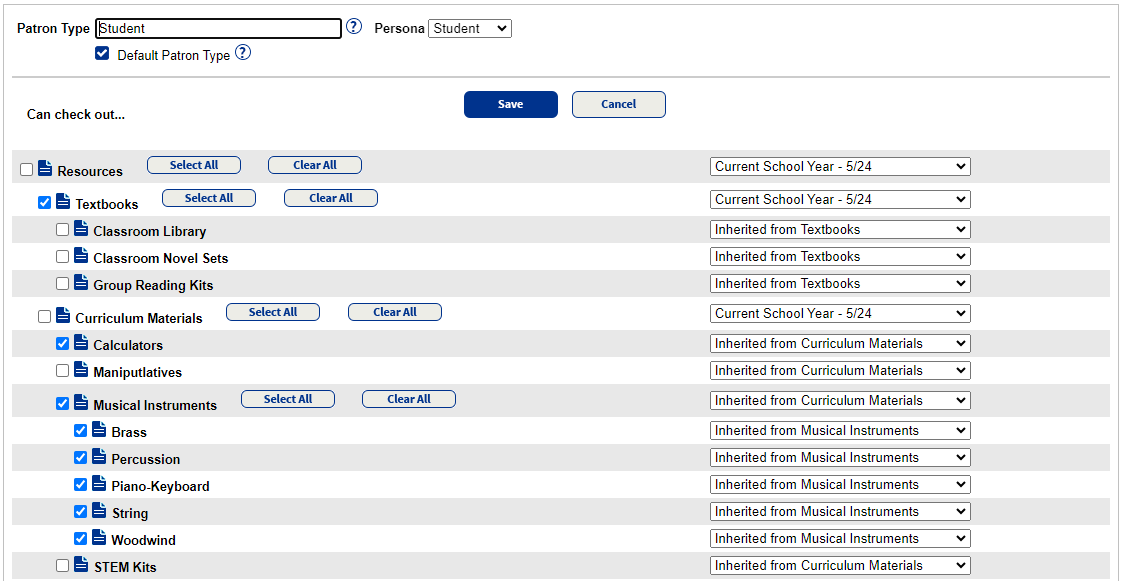
- Deselect the checkboxes for any resource types you do not want the patron type to be able to check out.
- Click Save.