Update included items (Resource Manager)
A container is a resource that includes other items, such as a cart with laptops or tablets. After a district user creates a the container, you can add or remove items from it. Sites can circulate a container without individually checking out and checking in all of its included items.
To add items to a resource container:
- Select Catalog > Resource Search.
- Search for the resource container to add items to.
- From the search results, click the resource name or Details.
- Click the Items sub-tab.
- Next to the item, click
 (Include Items).
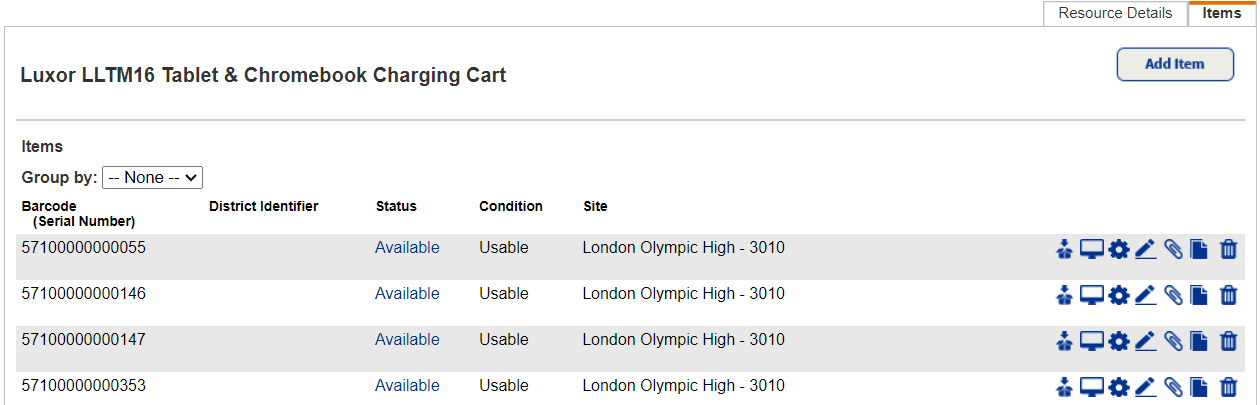
- Scan or enter a barcode number in the Barcode field, and then click Add.
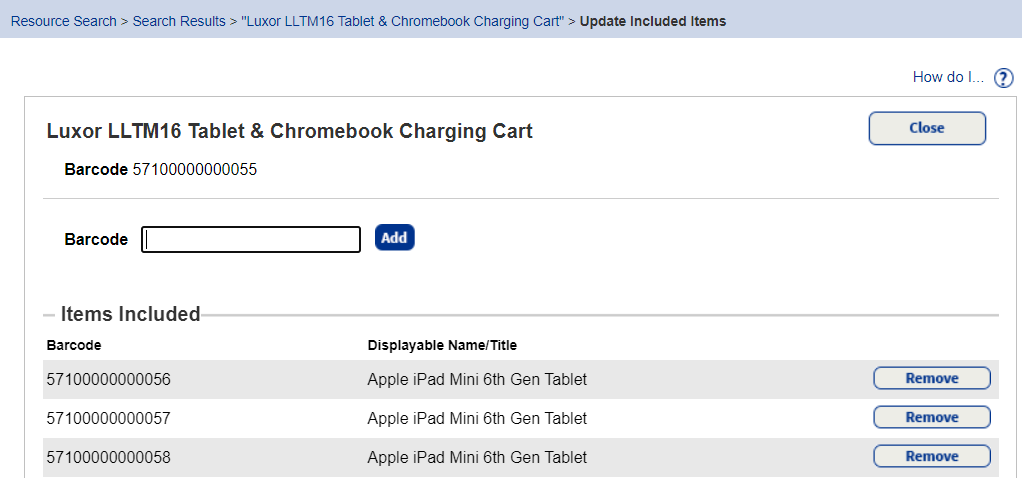
- Continue to add barcode numbers until you are finished.
- Click Close.
All included items are checked out or in with this resource container.
To remove items from a resource container:
- Select Catalog > Resource Search.
- Search for the resource container to remove items from.
- From the search results, click the resource name or Details.
- Click the Items sub-tab.
- Next to the item, click (Include Items).
- In the Items Included section, find the item and click Remove.
- To continue, click Yes to confirm you want to remove the item from the container.
- Click Close.