Perform remote circulation
Follett Remote is a single-user app that lets you track circulation scans to upload to Destiny later. Use it to circulate materials without a network connection.Remote circulation for library check out and check in can be done with a Follett scanning device that has Follett Remote installed.
To access the Follett Remote application to install on a computer, see Remote Circulation.
note: The steps that follow cover how to perform a remote circulation checkout using a Follett device with Follett Remote installed. If you are performing a remote circulation from a computer, you can follow the steps below – just keep in mind that the verbiage of the Follett Remote interface is slightly different from the Follett device to the computer. |
To check out materials with Follett Remote:
- From the Function drop-down, select the Destiny product you are using.
- Click Circulation.
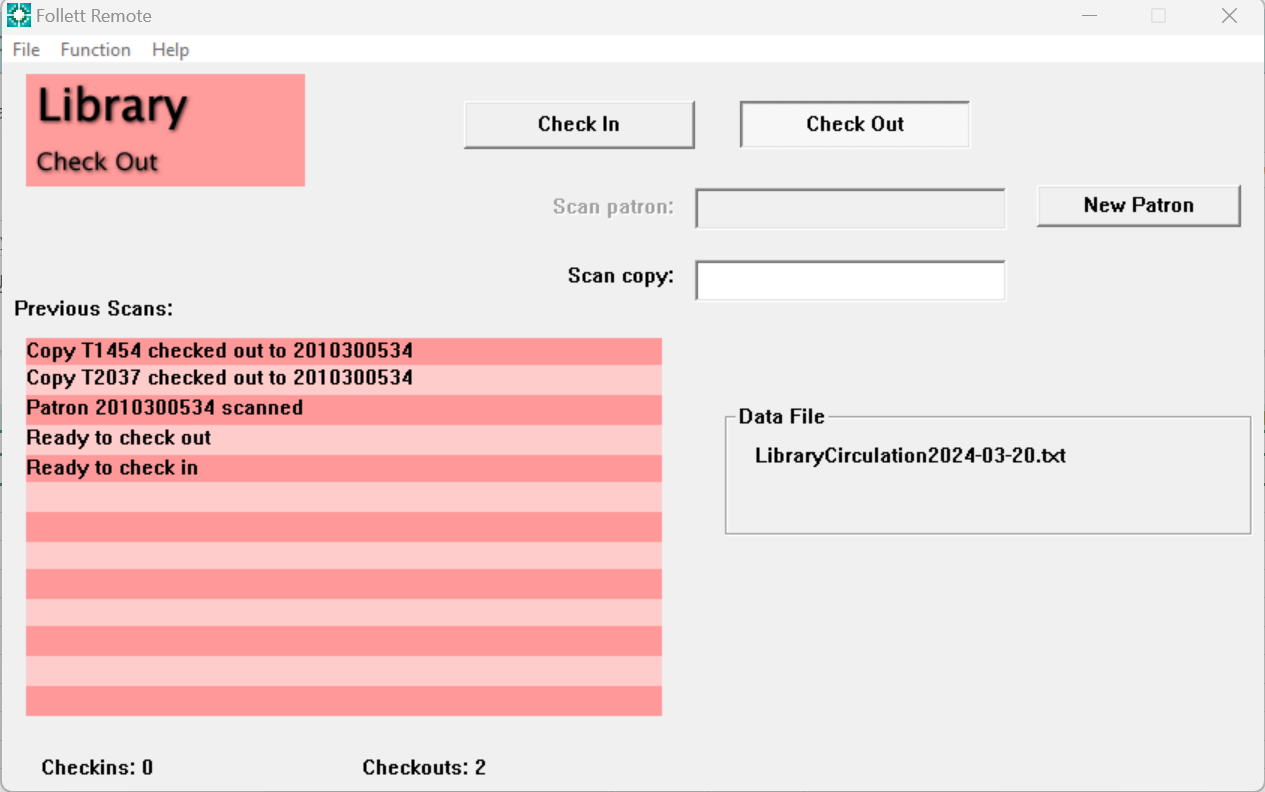
- Click Check Out.
Note: If you are using the Resource Manager or Textbook Manager functions, you will see additional checkout options.
- In the Scan patron field, scan or type the patron’s barcode number.
- In the Scan copy field, scan or type the barcode number of the item you are checking out. If you type the barcode number, press Enter.
- Continue to scan or type barcode numbers for all of the items the student is checking out.
- To check out material to another patron, click New Patron.
- When you are done checking out all the copies, you can upload the circulation file to Destiny.
| Important: If you accidentally scan an item incorrectly, do not select Erase Scans in the File menu, or all of the current day's data will be deleted. Instead, scan the item for check in. |
You can easily switch back and forth between checking in and checking out materials.
To check in materials with Follett Remote:
- From the Function drop-down, select the Destiny product you are using.
- Click Circulation.
- Click Check In.

- In the Scan copy to check in field, scan or type the barcode number of the item you are checking in.
- Continue to scan or type barcode numbers for all of the items you are checking in.
Note: The Previous Scans section shows the last 13 scans of patron and copy barcodes for both Checkins and Checkouts. You can see a running total at the bottom of the window. |
For more help, free online training, webinars, and educational resources, visit Follett Community.