Set up resource policies
You might have different due dates for different resource types. For example, textbooks circulate for an entire school term, and laptops are checked out for a day. You can set up customized loan periods in Destiny Resource Manager.
To create a loan period:
- Select Admin > Resource Policies > Loan Periods sub-tab.
Note: If you are logging in as a Destiny Administrator, select Setup > District Options. Next to Resource Policies, click Edit. Click the Loan Periods sub-tab. - Depending on whether you're creating an interval or a class loan period, click Add Loan Period in the appropriate section.
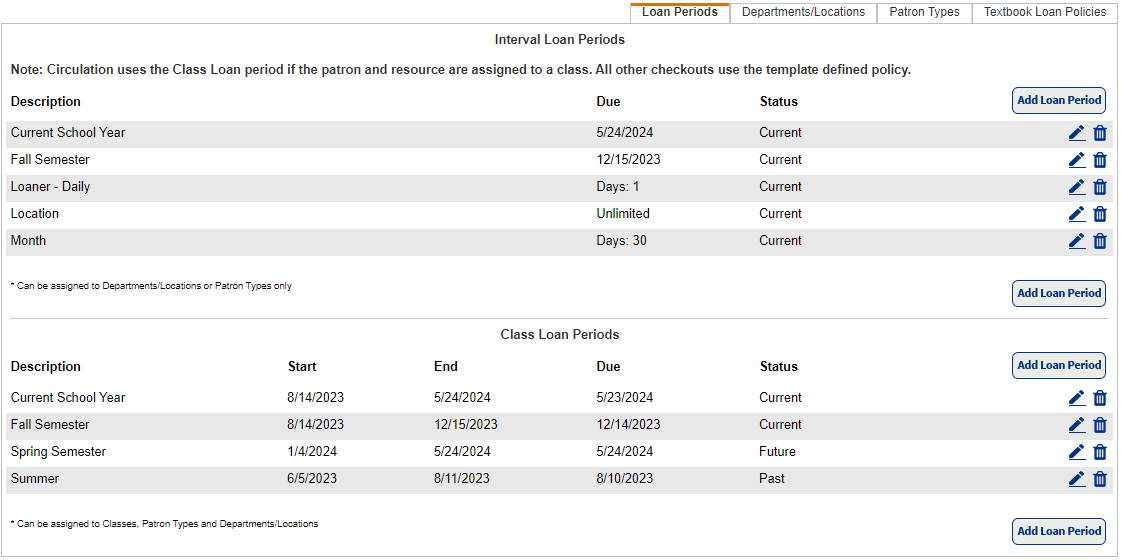
- In the Description field, type the name of the new loan period.
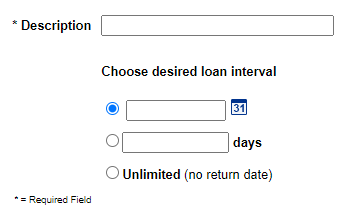
- Do one of the following to select the loan period's length:
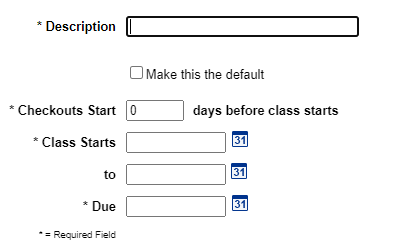
If creating an Interval Loan Period If creating a Class Loan Period - To pick the exact due date for the loan period, select the first option; then type a date for the loan period to end, or click to select a date.
- To create a loan period with a specific number of days, select the second option, and then type the number of days of the loan period.
Note: This is the only option that lets you renew checked-out resources.
- To create a loan period that does not have a due date, select Unlimited.
Enter the number of days before a class starts that checkouts are permitted, the date the class starts, the date the class ends, and the due date.
- Click Save.
To edit or delete a loan period:
- Select Admin > Resource Policies > Loan Periods sub-tab.
- Do one of the following to edit or delete a loan period:
If you want to… Then… Edit a loan period
- In the Description column, find the loan period you want to edit, then click
 .
. - Update the description or loan interval.
- Click Save. The new loan period appears in the Description column of the Resource Policies page.
Delete a loan period
Find the loan period you want to delete, then click
 . A confirmation message appears. Select accordingly.
 - In the Description column, find the loan period you want to edit, then click
|
Notes:
|