Getting Started as a Super Administrator – Consortium
Each member of a consortium, which can be either districts or individual sites, is completely autonomous. A member district cannot interact with another district. Sites within a member district can share materials, records, and patron records, and can use the inter-site functionalities, such as borrowing or transferring materials, and transferring patrons. A district's Destiny administration accounts can generate high-level reports for the member.
Set up installation
After logging in as a Super Administrator, click Setup in the upper corner. The Update Destiny Installation page shows the following sub-tabs:
- Members
- Notifications
- Options
- Reports
- Job Manager
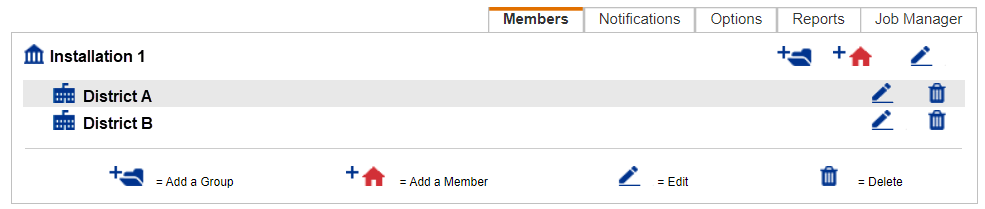
The Members sub-tab contains the options you will need to configure your installation.
Edit installation
You can change your installation’s name (by default, My Destiny) and the Super Administrator’s password, and add an image to the Welcome page.
- Navigate to the Update Destiny Installation > Members sub-tab.
- Click the Edit icon at the top of the tab.
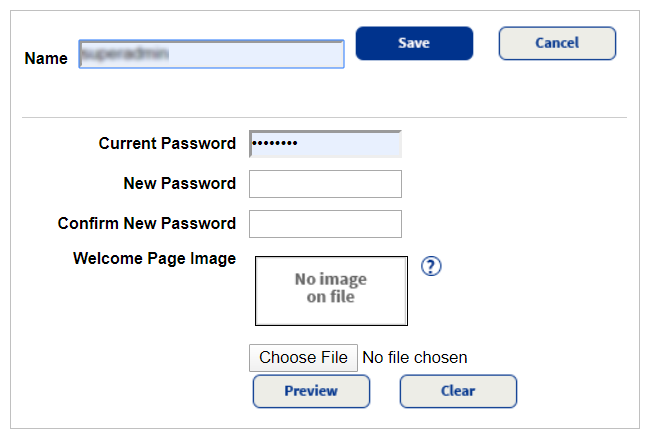
- Make your changes on the Edit [installation name] page.
- Click Save when you are done.
| Note: Remember to save the Super Administrator’s password in a secure location. |
Organize installation
If your installation contains several members, you may want to organize them into groups.
- To add a new group, click the Add a Group icon,
 , at the top of the Members sub-tab of the Update Destiny Installation page.
- On the Add Group page that appears, enter a unique name for the group.
- In the Sort Order field, set the order in which the group appears on the Welcome page. For example, a group set to 1 will appear at the top of the Welcome page.
- Click Save when you are done.
Now you can add members to your installation.