EasyScan Quick Start Guide
Overview
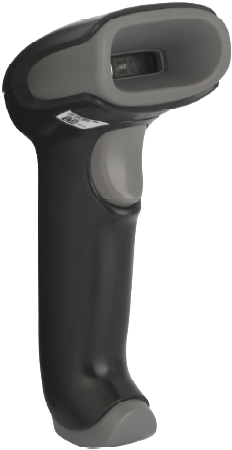
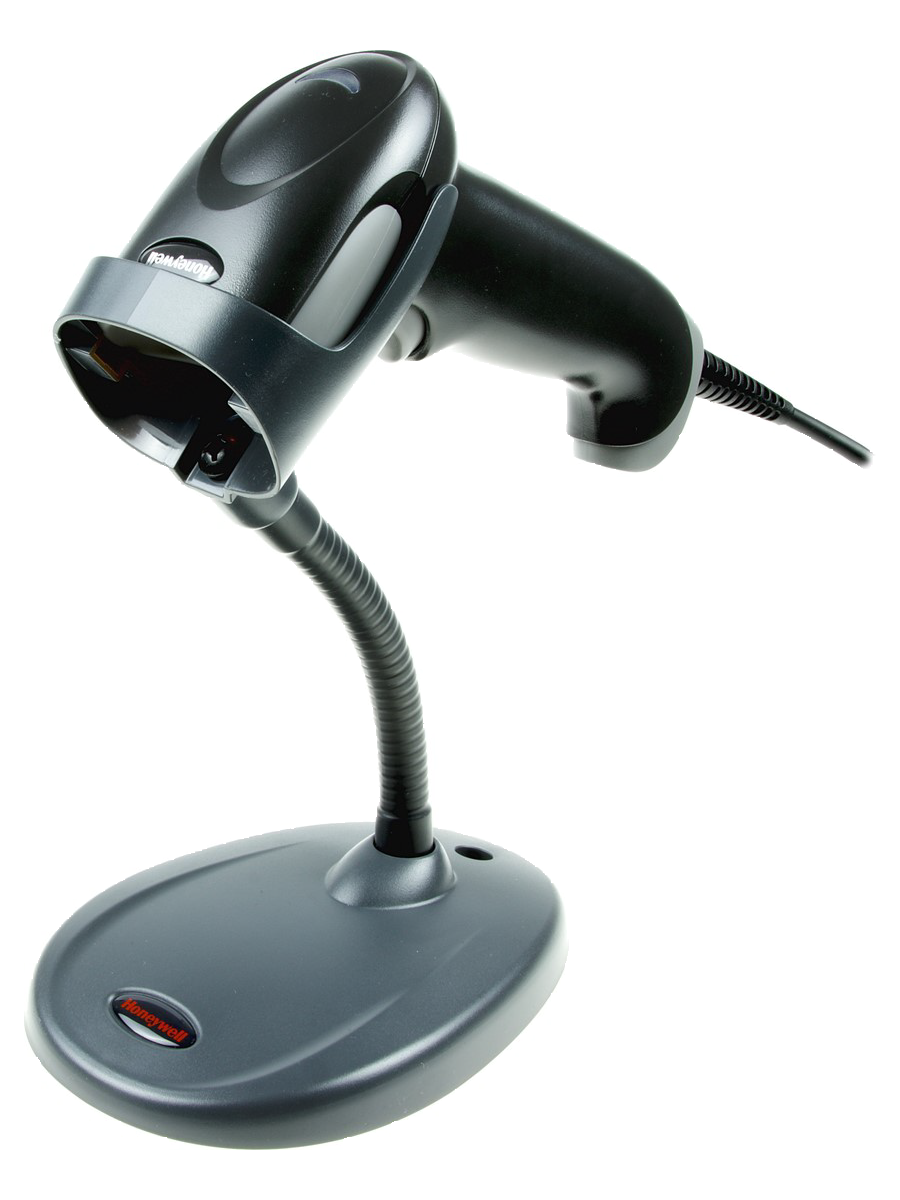
Your Destiny EasyScan Corded Scanner is a highly accurate 1D/2D scanning solution. Pre-loaded with Follett Software firmware, this device scans Follett Classic barcodes and other popular Destiny barcodes without any special setup.
This booklet details how to install your Destiny EasyScan Corded Scanner, and optimize it to your preferred method of scanning.
Installation
- Carefully insert the modular connector into the bottom of the Destiny EasyScan until you feel it click in place (Figure 1). To remove the cable, insert a paper clip into the cable release hole. (Figure 2).
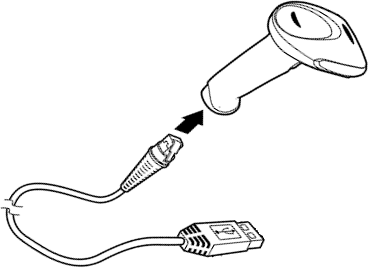
Figure 1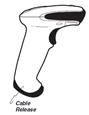
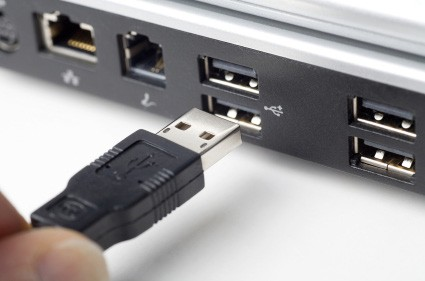
Figure 2Note: The modular connector cable is specifically designed for the Destiny EasyScan and can only be replaced by a cable designed for this model. - Locate the USB port on the back of your workstation, and insert the USB connector. Make sure that the connector is fully seated in the port.
- Insert the top of the Destiny EasyScan into the included stand.
When the EasyScan is inserted into the stand, it automatically enters into presentation mode. A light is activated to indicate it is ready to scan. When the unit detects a barcode, it scans automatically.
-
Test your Destiny EasyScan by using the following procedure:
- On your workstation, launch a text-editing program such as SimpleText or Notepad.
- Scan the test barcode below.

- Check to see if the number 12345 appears in the text editor. If the number does not appear, contact Follett Technical Support at 800.323.3397.
Note: For best results, scan all barcodes from a distance of 7 to 10 inches.
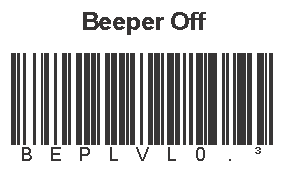
Operational Modes Setup
Program your preferred sound level by scanning the appropriate barcode below.

|

|
|

|
Click here to download the pdf.