Overview
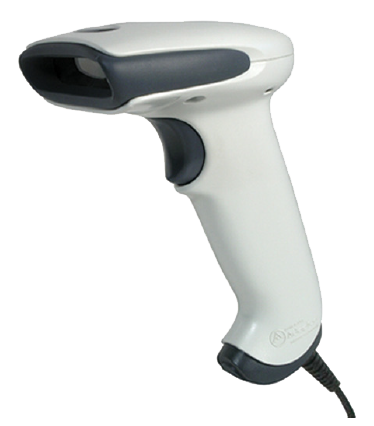
Your Follett 5100 Corded Scanner is a 1D linear-imaging scanner pre-loaded with Follett Software firmware to scan Follett Classic barcodes and other popular barcodes without any special setup.
Installation
- Carefully insert the modular connector into the bottom of the 5100 until you feel it click in place (Figure 1). To remove the cable, insert a paper clip into the cable release hole. (Figure 2).

NOTE: The modular connector cable is specifically designed for the 5100 and can only be replaced by a cable designed for this model.
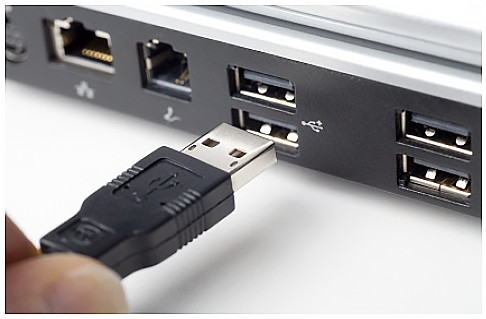
- Locate the USB port on the back of your workstation and insert the USB connector. Make sure that the connector is fully seated in the port.
- Test your 5100 scanner by using the following procedure:
- On your workstation, launch a text-editing program such as SimpleText or Notepad.
- Scan the test barcode below.

- Check to see if the number 12345 appears in the text-editor. If the number does not appear, contact Follett Technical Support at (800) 323-3397.
NOTE: For best results, scan all barcodes from a distance of 7 to 10 inches.
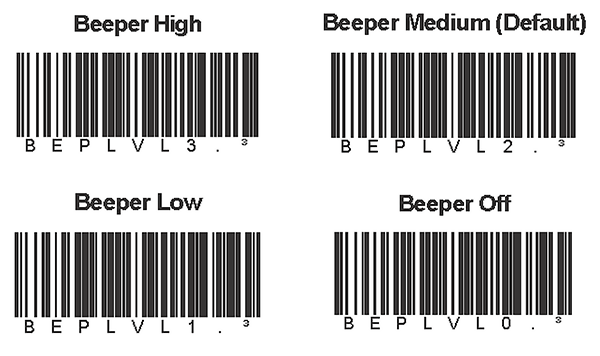
- Program your preferred sound level by scanning the appropriate barcode below.
- If you would like your 5100 scanner to automatically trigger when a barcode is placed in front of it, scan the Auto-trigger Mode barcode below. You can return your 5100 to Manual mode by scanning the Manual Trigger Mode barcode.
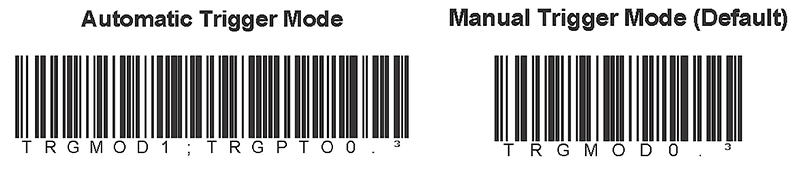
NOTE: In auto-trigger mode, the laser will be constantly active.
Click here to download the pdf.